Repotting Your Indoor Plants
CONTAINED
BRILLIANCE
Does your baby need new shoes?
Are your plant’s roots cramped into tight quarters? It might be time to move your plant into a bigger pot. Before you get started, you’ll want to make sure it needs more space.
The best time to assess your plant’s repotting needs is in spring, as this is when the light levels increase, and plants start waking up and actively growing. Repotting when light levels are low (fall and winter) can lead to issues like root rot, moldy soil, fungus gnats or other opportunistic pests and fungal disease. This leaves a stressed plant which has been asked to grow more roots when it really isn’t ready to.
How to tell it's time for bigger digs...
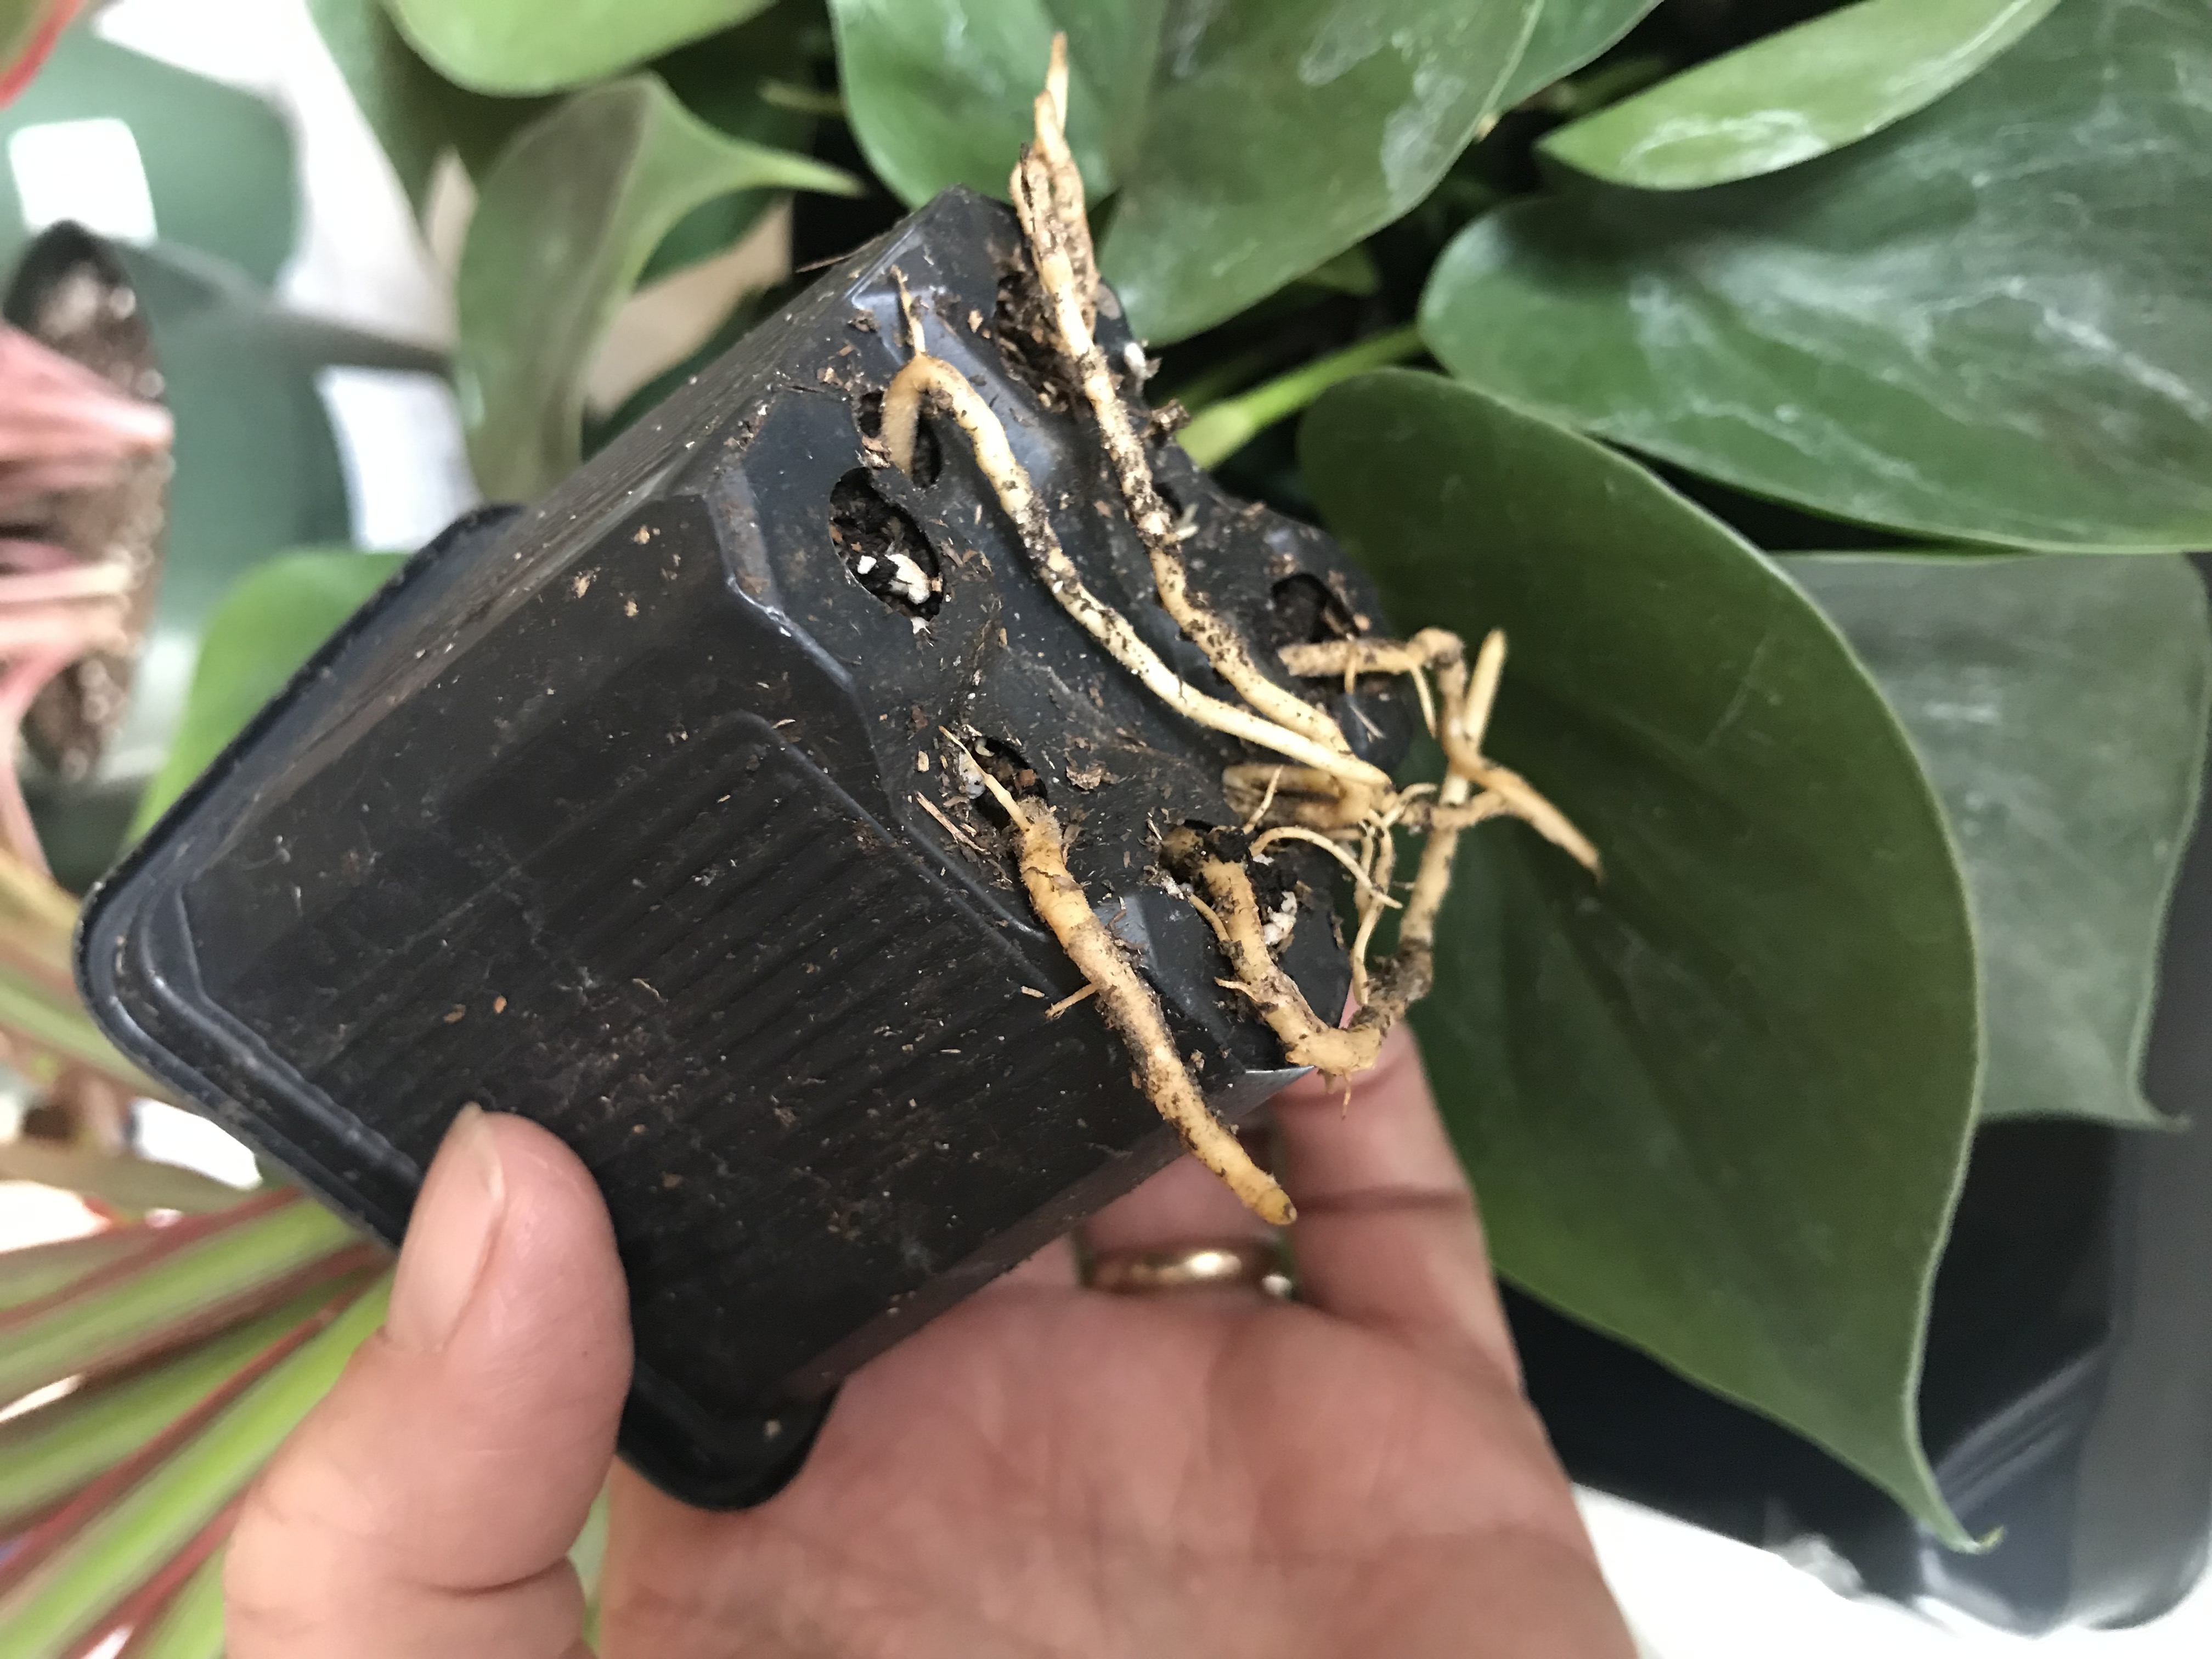
Look for roots growing out of drainage holes, roots circling the rootball (pull it out of the pot to see this), a sudden need for frequent watering (soil is drying out quickly and/or your plant may be wilting regularly), or an unhealthy plant for no other apparent reason.

Keep in mind that some plants prefer to be a bit rootbound (succulents are one example). Too much new soil (which holds moisture longer) around their roots can lead to root rot. After repotting succulents and other plants that prefer to dry out between waterings, make sure to water them less frequently.
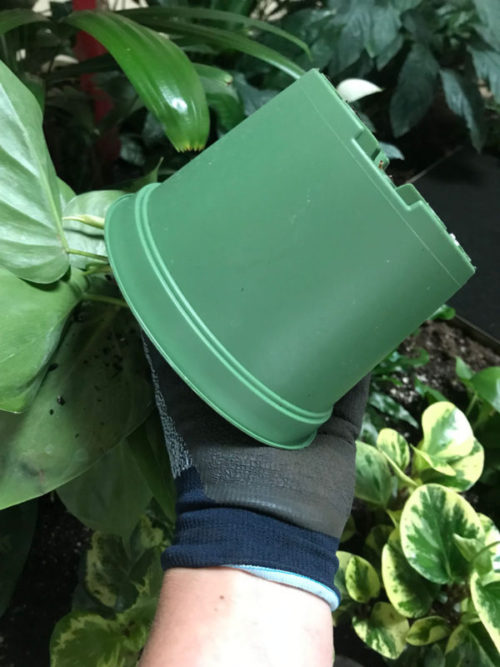
The above “tell-tale” signs let you know that you need to look at the rootball. To do so, squeeze the nursery grow pot (or whatever pot your plant is growing in) to loosen it from the rootball. Then, place your hand over the top of the soil with your fingers straddling the plant stems (to support it from a fall) as you tip the pot over and gently slide the plant out and pull the pot off. If it doesn’t want to come out of the pot, check to see if roots have grown through the drainage holes and are “gripping” the pot. You can cut off those roots; then squeeze and tap on the pot again, and hopefully it will let go. Occasionally, a firm slap on the bottom of the pot is necessary to free the rootball. If it’s a tall plant, and you cannot invert it, then pull it directly upward or lean the pot on its side and gently pull the plant out - being careful to not damage stems and leaves as you pull.

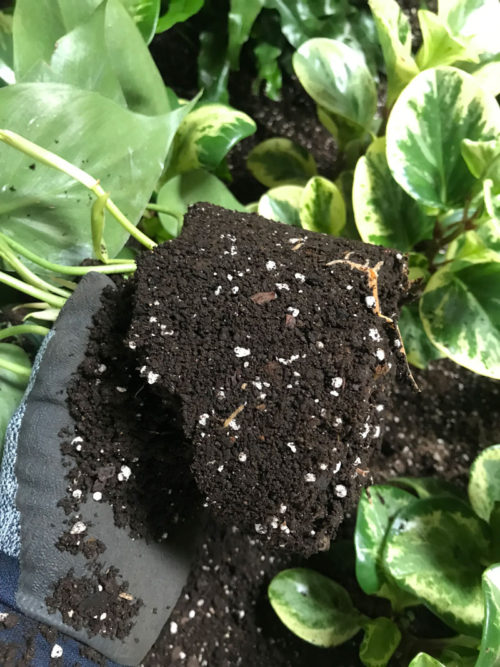
If you find the roots are filling the bottom 1/3 of the soil (or more), are circling the rootball, or that all you can see is roots (no soil visible), then it’s time to repot.
If a lot of soil falls off, or the rootball falls apart, it’s definitely not time to repot.

Slide the plant back into its pot so the roots do not dry out as you assemble what you need. Now’s a good time to water your plant if the soil is dry and needing a drink – it’s never a good idea to repot a plant when it’s stressed in any way.
What you'll need:
To do this repotting, you’ll need to have the following supplies:
- a quality sterilized plant soil (formulated for indoor plants)
- gloves
- a larger container
- something to scar the roots (sounds bad but the plant will respond fine to it) like a large fork, stick, soil knife or trowel.
New Container Size?
Start by measuring the existing pot your plant is growing in. Most of the time this is a nursery grow pot (the container that the plant was grown in and likely what it was in when you brought it home).
The below measurements are taken across the top (width / diameter) of the nursery grow pot.
SUGGESTED CONTAINER SIZE INCREASES
Original Grow Pot Diameter
4"
6"
8"
10"
12"
New Grow Pot Diameter
6"
8"
10" - 11"
12" - 14"
15" - 16"
If your plant is a water lover then you can feel more comfortable picking the larger number of the new range.
Similar proportional jumps in pot height apply.
If you move your plant into too big of a pot, it increases the chance of the soil taking too long to dry out between waterings. Overly wet soil for long periods can cause roots to rot, may attract fungus gnats, and encourage fungal and bacterial diseases. Be sure this new pot has drainage holes to allow the excess water to flow out of the bottom of the pot.
Pro Tip:
I rarely plant directly into a decorative pot. I find a nursery grow pot that is slightly smaller than the decorative pot, plant directly into the nursery grow pot and place it into the decorative pot (ALWAYS on a deep saucer). It might need to be elevated some (I use sheets of Styrofoam), and decorative moss added just around the edges to disguise the lip of the grow pot. A nice bonus: This method also allows you to choose a decorative pot with no drainage holes. Just be sure to put a deep saucer under the nursery grow pot (potted plant should be sitting directly on the saucer) and check it regularly so the water doesn’t over flow. Remove excess water from the saucer (a turkey baster works well) so the plant doesn’t sit in water. You’ll likely soon learn the proper amount of water to use so that it covers the soil surface but barely runs out into the saucer once it’s moved through the rootball.
I find this “pot inside a pot” technique really simplifies things whenever you need to move it, check for repotting needs, replace a dead plant, or switch it to a new decorative pot.
Soil Prep:
Before getting started moisten (don’t waterlog) your new potting soil. If you skip this step, once you water your newly repotted plant, it will settle too low into its new pot.
Now, loosen those tight roots with your fingers or an object, like a fork, stick, soil knife or a trowel. This will help interrupt circling root growth and encourage roots to move more quickly into the new soil.
Place enough soil in the bottom of the new container so that when the root ball is placed on top of it, the top of the soil surface is approximately 1”-2” from the top edge of the new pot. This will allow for a maximum amount of new soil under the rootball and enough room for watering at the top (without it rolling off or spilling over). Slowly fill in around the sides of the root ball, pushing soil down as you go with your fingertips, being careful to press firmly enough to remove any pockets of air, but not so firmly that you over-compact the soil. Stop adding soil when you’ve reached the same level as the original root ball surface. Never bring soil up onto the trunk or stems of an indoor plant as it can cause rotting and plant death.
To help settle the soil and hopefully eliminate any air pockets, water your newly repotted plant – over the entire top of the soil surface - until you see a small amount of water run out of the drainage holes. I like to do this watering in stages: water the entire surface some, wait five minutes to see if any water runs out of the drainage holes and into the saucer, and repeat as needed until a bit runs out. Doing it this way assures that all the soil mass and rootball have received adequate water. If the soil you added around the sides settles too low, just add more around the edges until the entire top of the soil is at the same level.
The new soil (with no roots in it) will now take longer to dry out, so always feel the soil and hold off watering until it’s dried out some to avoid overwatering. Keep an eye on the original rootball as well, as sometimes it can dry out and may need a bit of water. This typically only occurs until its roots move into the new soil.
Hold off fertilizing for at least a month and stop fertilizing in the Fall (I stop in September) when your plant is heading toward a period of slower growth due to a decrease in light levels.
I can hear your plant’s toes wiggling already!


Excellent article. Thank you
Glad you enjoyed it! Let me know if there are any other topics of interest that I can consider for future posts.